Chest Workouts for Building Muscle
Last updated on December 01, 2024 by Fitness Goal 4U
“The real workout starts when you want to stop.” – Ronnie Coleman
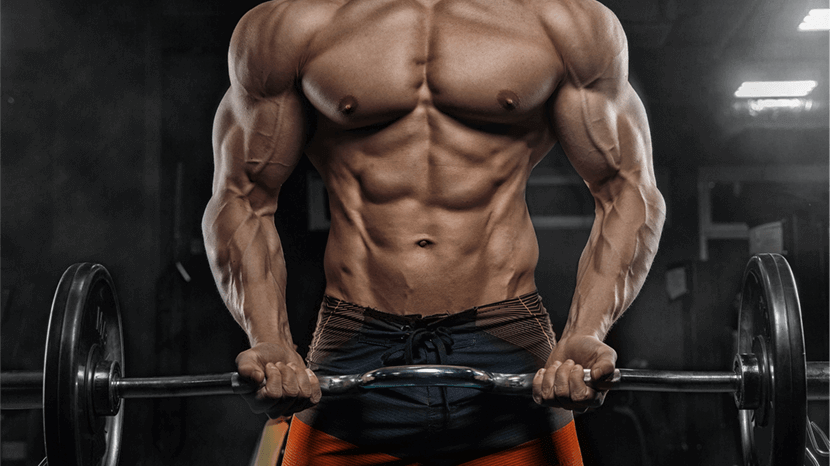
A well-developed chest is often a focal point in building a strong and balanced upper body. The chest muscles, primarily the pectoralis major, contribute not only to aesthetics but also to essential functional movements in daily life and athletic activities. The best chest workouts incorporate a variety of exercises that target different parts of the chest, ensuring comprehensive muscle development. From foundational exercises like the barbell bench press and push-ups to more specialized movements like incline bench presses and cable crossovers, these workouts cater to all fitness levels. This collection of the top 10 chest exercises provides a balanced approach, combining compound movements for overall strength with isolation exercises for targeted muscle engagement. Whether you're aiming to increase muscle mass, improve definition, or enhance upper body strength, these exercises offer a versatile and effective routine to help you achieve your fitness goals.
Best 10 Chest Workouts
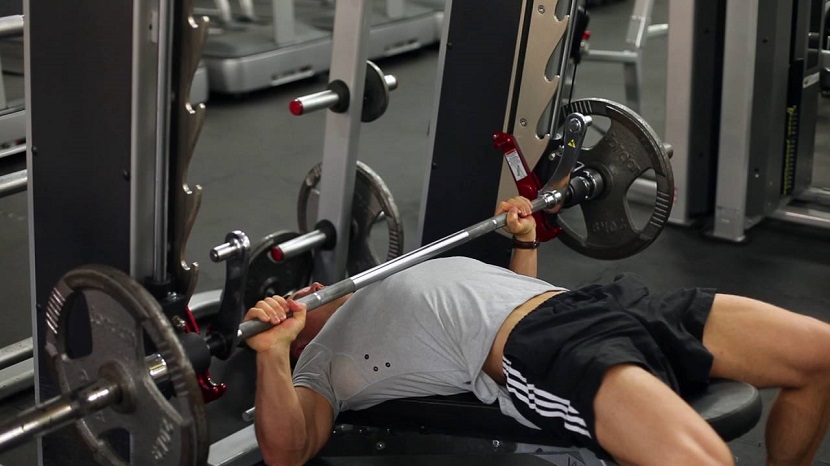
1. Barbell Bench Press
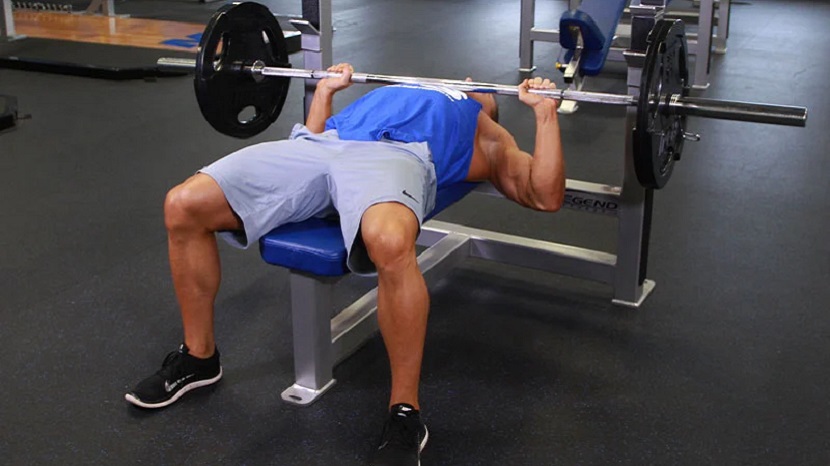
The barbell bench press is a staple exercise in strength training and bodybuilding routines, primarily targeting the chest muscles, but also engaging the shoulders and triceps. It's known for its effectiveness in building upper body strength and mass.
How to Do
- Lie on a flat bench with your feet flat on the floor.
- Grip the barbell slightly wider than shoulder-width apart.
- Lower the barbell to your chest, then press it back up until your arms are fully extended.
Tips and Tricks
- Keep your back flat on the bench.
- Avoid bouncing the bar off your chest.
- Use a spotter for heavy weights.
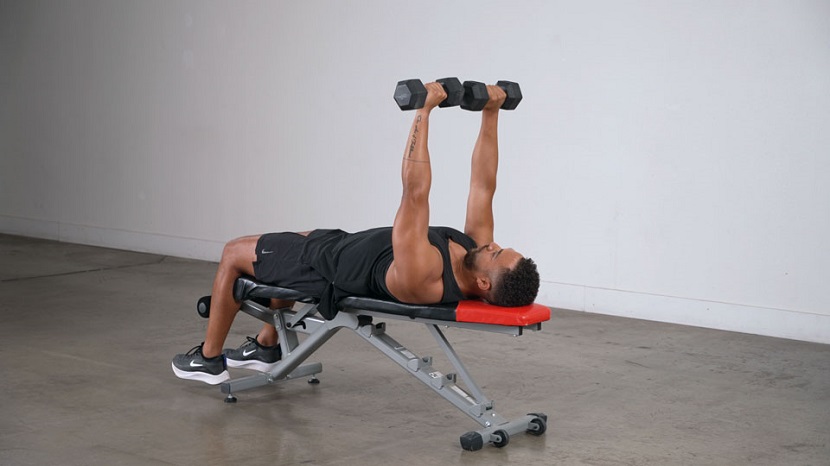
2. Dumbbell Bench Press
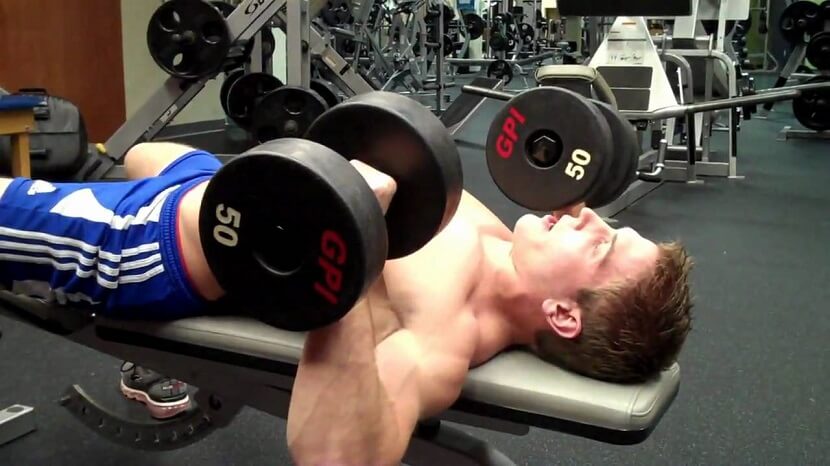
The dumbbell bench press is a versatile and effective exercise that targets the chest muscles while also engaging the shoulders and triceps. It allows for a greater range of motion compared to the barbell bench press and can help improve muscle symmetry and coordination.
How to Do
- Lie on a flat bench with a dumbbell in each hand.
- Position the dumbbells at shoulder level, palms facing forward.
- Press the dumbbells upward until your arms are fully extended, then lower them back down.
Tips and Tricks
- Control the weight throughout the movement.
- Maintain a neutral wrist position.
- Don't let your elbows flare out too much.
3. Incline Bench Press
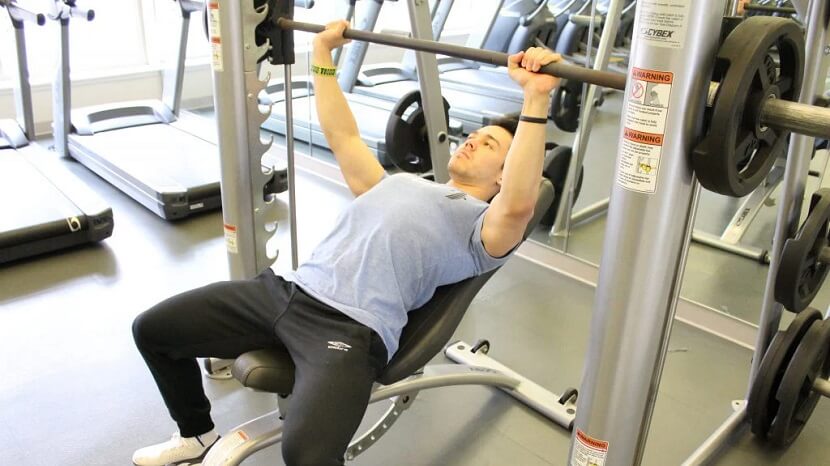
The incline bench press is a variation of the bench press that targets the upper portion of the chest muscles (pectoralis major), while also engaging the shoulders and triceps. This exercise is performed on a bench set at an incline, typically between 30-45 degrees.
How to Do
- Set the bench at a 30-45 degree angle.
- Perform the exercise similarly to the barbell bench press.
Tips and Tricks
- Keep the movement controlled and steady.
- Focus on contracting your chest muscles.
4. Decline Bench Press

The decline bench press is a variation of the bench press that primarily targets the lower portion of the chest muscles (pectoralis major). It also engages the shoulders and triceps, but with a unique angle that emphasizes the lower chest.
How to Do
- Lie on a decline bench.
- Perform the exercise similarly to the barbell bench press.
Tips and Tricks
- Ensure the bench angle isn't too steep.
- Keep your feet secured.
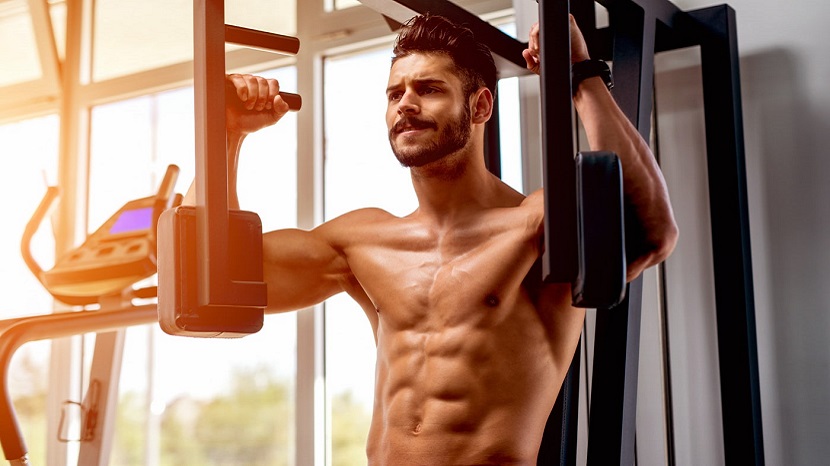
5. Chest Dips

Chest dips are a bodyweight exercise that effectively targets the lower part of the chest, as well as the triceps and shoulders. They are performed using parallel bars and can be a powerful addition to any chest workout routine.
How to Do
- Use parallel bars, gripping them firmly.
- Lower your body by bending your elbows until your upper arms are parallel to the ground.
- Push back up to the starting position.
Tips and Tricks
- Lean slightly forward to target the chest more.
- Keep your elbows close to your body.
6. Push-Ups
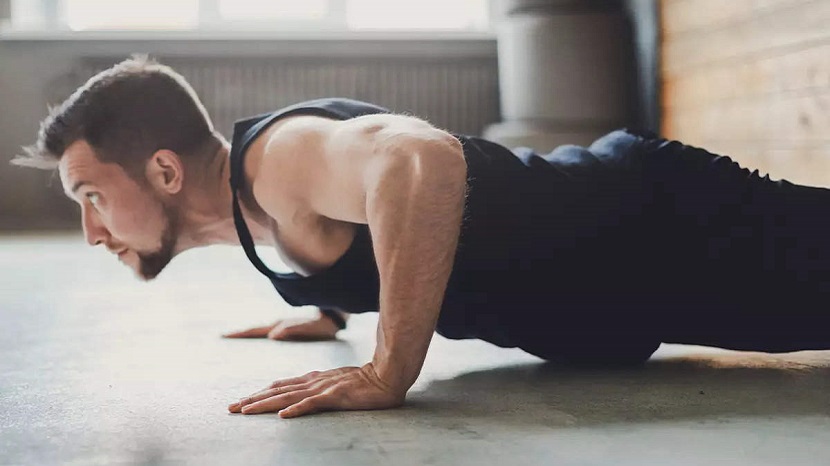
Push-ups are a fundamental bodyweight exercise that primarily targets the chest muscles, while also engaging the shoulders, triceps, and core. They are versatile, requiring no equipment, and can be performed almost anywhere.
How to Do
- Start in a plank position with hands placed slightly wider than shoulder-width.
- Lower your body until your chest nearly touches the floor.
- Push back up to the starting position.
Tips and Tricks
- Keep your body in a straight line.
- Engage your core throughout the movement.
- Vary hand placement to target different areas of the chest.
7. Dumbbell Flyes
Dumbbell flyes are an isolation exercise that targets the chest muscles, focusing on stretching and contracting the pectorals. This exercise is great for increasing muscle definition and flexibility in the chest area.
How to Do
- Lie on a flat bench with a dumbbell in each hand.
- Extend your arms above your chest, palms facing each other.
- Lower the dumbbells in a wide arc until you feel a stretch in your chest.
- Bring them back up to the starting position.
Tips and Tricks
- Maintain a slight bend in your elbows.
- Keep the movement slow and controlled.
8. Cable Crossovers
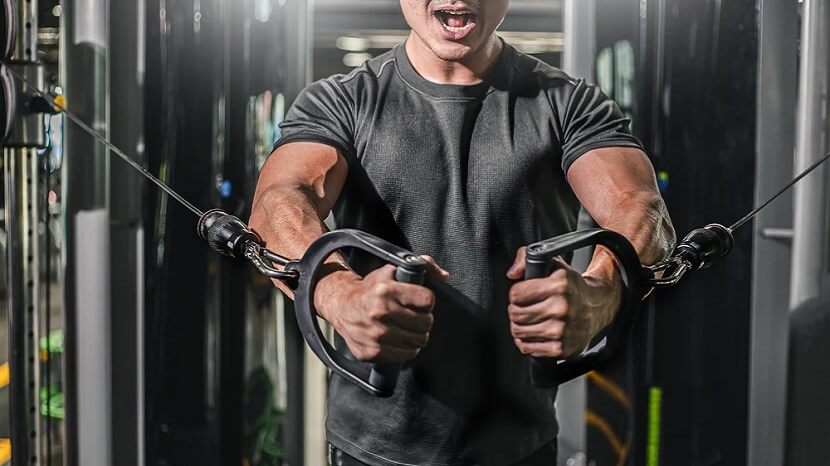
Cable crossovers are an effective isolation exercise for the chest, focusing on the inner pectoral muscles. This exercise is performed using a cable machine, providing constant tension throughout the movement for optimal muscle engagement.
How to Do
- Stand between two cable machines with handles at shoulder height.
- Pull the handles down and together in front of your chest.
- Return to the starting position.
Tips and Tricks
- Keep your movements controlled.
- Focus on squeezing your chest muscles.
9. Pec Deck Machine
The pec deck machine is an isolation exercise that focuses on the pectoral muscles, specifically targeting the chest. It allows for a controlled and consistent movement, making it an excellent choice for both beginners and advanced lifters looking to improve chest muscle definition and strength.
How to Do
- Sit on the machine with your back flat against the pad.
- Grip the handles and bring them together in front of your chest.
- Slowly return to the starting position.
Tips and Tricks
- Adjust the seat height so your upper arms are parallel to the floor.
- Avoid letting the weights touch between reps.
10. Smith Machine Bench Press
The Smith machine bench press is a variation of the traditional bench press performed on a Smith machine, which provides a fixed bar path. This exercise targets the chest muscles, shoulders, and triceps, and is often used for its safety and stability features, making it suitable for both beginners and advanced lifters.
How to Do
- Perform the bench press using the Smith Machine for added stability.
Tips and Tricks
- Focus on form and control.
- Use the safety stops to prevent injury.
General Tips for Chest Workouts
1. Warm-up: Always warm up before starting your workout to prevent injuries.
2. Progressive Overload: Gradually increase the weight and intensity of your workouts to continue making gains.
3. Proper Form: Prioritize proper form over lifting heavier weights to avoid injury.
4. Rest and Recovery: Allow adequate rest between workouts for muscle recovery and growth.
5. Balanced Training: Ensure you’re also working other muscle groups to avoid imbalances.
FAQs
1. What are the benefits of chest workouts?
Answer : Chest workouts help build and strengthen the pectoral muscles, improve upper body strength, enhance overall aesthetics, and contribute to better posture and functional movements.
2. How often should I train my chest?
Answer : It's generally recommended to train your chest 1-2 times per week, allowing at least 48 hours of rest between sessions to ensure adequate recovery and muscle growth.
3. What exercises are best for building a bigger chest?
Answer : Compound exercises like the barbell bench press, incline bench press, and push-ups are great for building mass and strength. Isolation exercises like dumbbell flyes and cable crossovers help in defining and sculpting the chest muscles.
4. Should I use free weights or machines for chest workouts?
Answer : Both free weights and machines have their benefits. Free weights allow for a greater range of motion and engage stabilizer muscles, while machines provide stability and can help with controlled movements and targeting specific muscle groups.
5. How can I target the upper chest?
Answer : Incline bench press, incline dumbbell press, and incline cable flyes are effective exercises for targeting the upper chest.
6. Can I work out my chest at home without equipment?
Answer : Yes, bodyweight exercises like push-ups and variations (wide grip, diamond, incline, decline) are effective for working out the chest at home.
7. How many sets and reps should I do for chest exercises?
Answer : A typical range is 3-4 sets of 8-12 reps for muscle growth. For strength, 4-6 sets of 4-6 reps with heavier weights are recommended.
8. How can I prevent shoulder pain during chest workouts?
Answer : Focus on proper form, avoid overextending your elbows, and don't lift too heavy without proper warm-up. Strengthening the rotator cuff and shoulder muscles can also help prevent pain.
9. Do I need a spotter for chest workouts?
Answer : It's advisable to use a spotter when lifting heavy weights, especially during exercises like the bench press, to ensure safety and assist in case of muscle failure.
Conclusion
In conclusion, chest workouts are a crucial component of a balanced and effective fitness routine. They not only contribute to a well-defined and powerful upper body but also play a vital role in overall strength and functional performance. By incorporating a variety of exercises, such as compound movements like bench presses and push-ups, alongside isolation exercises like dumbbell flyes and cable crossovers, individuals can target all areas of the chest for comprehensive muscle development. Remember to prioritize proper form, progressively increase intensity, and allow adequate recovery time between workouts to maximize results. Whether you’re aiming to build muscle, improve strength, or enhance athletic performance, a well-structured chest workout regimen can help you achieve your fitness goals and maintain a healthy, strong physique.
You might also like our weight loss articles.
If you would like more information about the Best 10 Chest Workouts for Building Muscle 2024, please send us an email.

Written by Fitness Goal 4U
Smart Fitness Goals - Achieve Health with Simple Steps
Smart fitness goals focus on being Specific, Measurable, Achievable, Relevant, and Time-bound. They help you create a clear path to success, stay motivated, and track progress. Whether its weight loss, strength building, or improved endurance, smart goals guide your fitness journey, ensuring steady growth and sustainable results tailored to your needs.
“Its hard to beat a person who never gives up.” – Babe Ruth