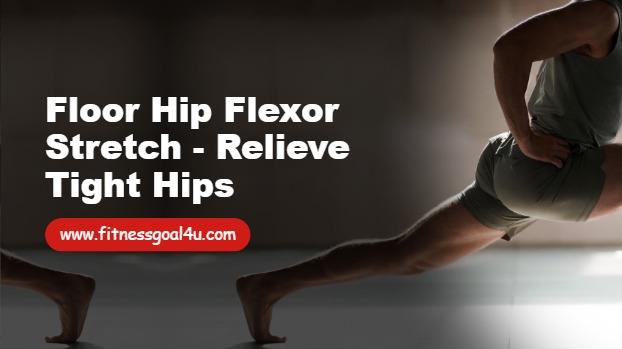
The floor hip flexor stretch, also known as the lying knee-to-chest stretch or supine hip flexor stretch, is a gentle floor-based exercise that targets the hip flexor muscles. It involves lying on your back and pulling one knee toward your chest while keeping the other leg extended.
This move is primarily a stretch rather than a strengthening exercise, making it ideal for releasing tightness in the front of the hips. It is commonly used in yoga, physical therapy, and recovery routines.
No equipment is required—just a comfortable mat or floor space. It is especially helpful for people who sit for long periods, runners, or anyone experiencing hip or lower back tightness.
The stretch focuses on the iliopsoas and rectus femoris muscles, helping to improve flexibility and reduce discomfort from shortened hip flexors.
How to Perform the Floor Hip Flexor Stretch: Step-by-Step Technique
Proper form ensures a safe, effective stretch without straining your back. Follow these steps:
- Lie flat on your back on a mat or comfortable surface, with both legs extended.
- Bend your right knee and bring it toward your chest.
- Place both hands behind your right thigh or around the shin to gently pull the knee closer to your chest.
- Keep your left leg straight and pressed into the floor, with your toes pointed up or flexed.
- Relax your shoulders and head on the floor—avoid lifting them.
- Hold the stretch, breathing deeply, then release and switch sides.
To deepen the stretch, pull the knee closer or slightly across your body. Keep your lower back pressed gently into the floor to avoid arching.
For beginners, start with a smaller pull. If you have back issues, place a small pillow under your head.
Why Do the Floor Hip Flexor Stretch: Key Benefits
This simple stretch offers significant advantages for hip health and comfort:
- Relieves tight hip flexors: Lengthens muscles shortened from prolonged sitting or activity.
- Reduces lower back discomfort: Loosens hips to ease pull on the lower spine.
- Improves hip mobility: Increases range of motion for better walking, running, or bending.
- Enhances posture: Counteracts forward pelvic tilt from tight flexors.
- Low-impact and accessible: Safe for most people, including seniors or those in rehab.
- Promotes relaxation: Deep breathing during the hold calms the body.
- Complements other exercises: Prepares hips for strengthening moves or workouts.
Consistent practice can lead to freer movement and less daily stiffness in the hips and back.
Recommended Sets and Repetitions
As a stretch, focus on hold time rather than high reps.
- Beginners: 2-3 holds of 20-30 seconds per side, 1-2 sets.
- Intermediate: 3 holds of 30-45 seconds per side, 2 sets.
- Advanced: 3-4 holds of 45-60 seconds per side, or add gentle pulses.
- Daily option: Perform once or twice a day for maintenance.
Include it 4-7 times per week, ideally after sitting or workouts. Hold without bouncing—breathe deeply. Progress by increasing hold time or depth gradually.
FAQ (Frequently Asked Questions)
1. Is the floor hip flexor stretch suitable for beginners?
Answer: Yes, it is very beginner-friendly. Start with short holds and gentle pulls—adjust based on your comfort level.
2. Can this stretch help with lower back pain?
Answer: Often yes, by releasing tight hip flexors that contribute to back strain. Stop if it increases pain and consult a professional.
3. How often should I do the floor hip flexor stretch?
Answer: 4-7 times per week, or daily if your hips feel tight. It is gentle and safe for frequent use.
4. Should I feel the stretch in my hip or thigh?
Answer: Yes, primarily in the front of the hip and upper thigh of the extended leg. Mild sensation is good—sharp pain means ease up.
5. What if my lower back arches off the floor?
Answer: Reduce the pull on the bent knee or keep the extended leg slightly bent. Engage your core to flatten your back.
6. Is this stretch good for runners?
Answer: Yes, it helps loosen tight hip flexors from running, improving stride and reducing injury risk.